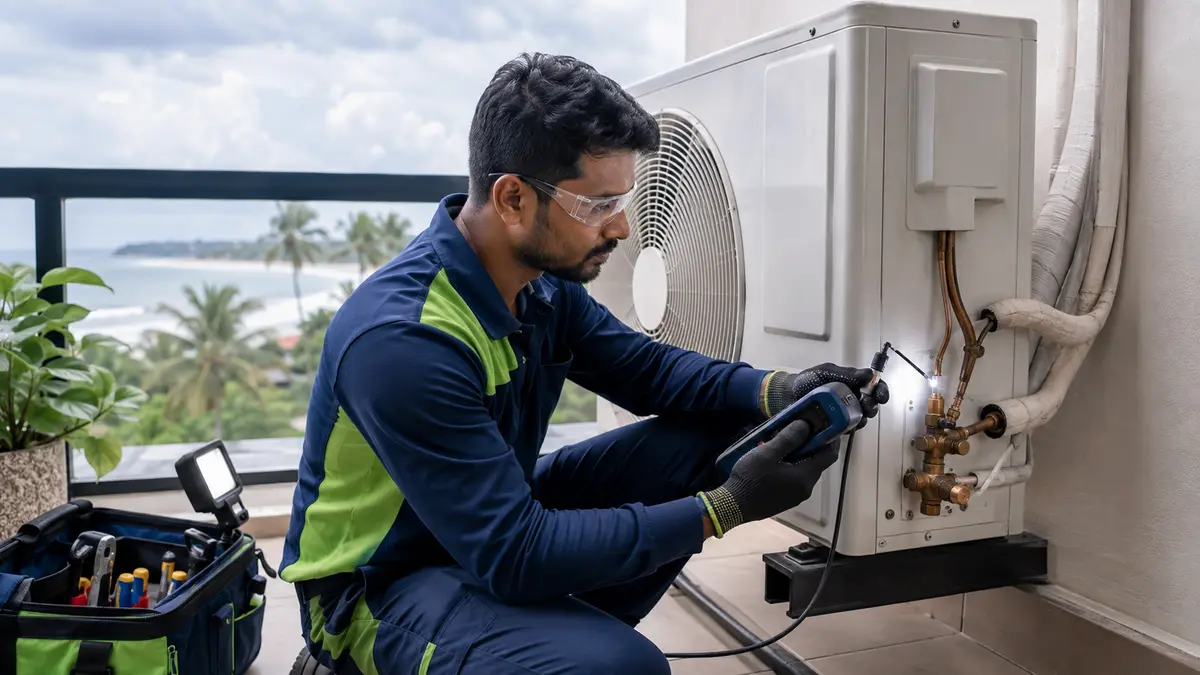
What should you expect?
An AC needs refrigerant leak testing when measured performance and system evidence suggest loss of charge, after refrigerant piping is installed or opened, or when a previous charge has fallen again. Weak cooling alone is not proof: restricted airflow, dirty coils, sensor faults, severe heat load and compressor problems can look similar.
Test for a leak when the evidence points to the sealed circuit
Coastal salt and moisture can accelerate corrosion at coils, service valves and joints in Pondicherry and Cuddalore, while vibration or poor flare workmanship can affect any location. Evidence-based testing avoids charging a system that actually has an airflow or capacity problem.
A sound refrigerant circuit retains its charge. A top-up may temporarily change cooling but cannot seal a leak. Diagnosis should establish the symptom, compare operating readings, inspect likely points and then use a method suitable for the refrigerant and equipment.
In salt-exposed buildings, inspect the full coil face, return bends, service valves and pipe supports—not only the easiest flare joint. Corrosion location and repairability can change the repair-versus-replacement decision.
Signs that increase—or reduce—the need for leak testing
Repeated charge loss
Cooling improved after a previous charge but weakened again; this strongly supports finding the leak before adding more refrigerant.
Oil or corrosion evidence
Oily residue, damaged flare joints, rubbed tubing, corroded coil areas or disturbed pipework are useful inspection clues.
Measured circuit symptoms
Temperatures, pressures, superheat or subcooling and compressor behaviour may support a low-charge diagnosis when interpreted for the exact system.
Airflow fault instead
A dirty filter, blower, evaporator, blocked condenser or poor room load should be corrected or ruled out before refrigerant conclusions.
What professional AC leak testing should include
System identification
Confirm refrigerant type, model, charge method, pipe length and previous service history.
Visual inspection
Check flares, valves, caps, brazed joints, coil bends, tubing contact points and oil or corrosion marks.
Electronic detection
Use a detector suitable for the refrigerant and verify sensitivity according to its instructions.
Approved bubble solution
Apply compatible leak-detection solution to accessible suspected joints; household soap may contaminate or corrode components.
Standing pressure test
When appropriate, isolate or recover the system and test with the approved dry inert gas, pressure and duration from the equipment procedure.
Repair—not sealant guessing
Correct the failed joint or component using approved materials and workmanship; do not rely on unverified stop-leak additives.
Post-repair evacuation
After leak integrity is proven, evacuate to remove air and moisture before charging.
Final verification
Charge by the specified method and confirm cooling, airflow, drainage, readings and leak-free service connections.
Low refrigerant clues are not the same as leak proof
Ice, weak cooling and long run time justify investigation, but each can have non-refrigerant causes. Leak location should be demonstrated before an expensive coil or pipe repair is approved.
| Observation | Possible leak-related cause | Other causes to rule out |
|---|---|---|
| Weak cooling | Reduced refrigerant mass | Heat load, dirty coils, weak airflow, controls |
| Ice on piping or coil | Low charge or restriction | Low airflow, low load, sensor issue |
| High electricity use | Long operation from capacity loss | Weather, settings, airflow, tariff, compressor fault |
| Oily mark | Oil carried out with refrigerant | Old service residue; clean and retest |
When a confirmed leak may not be economical to repair
A replaceable flare or accessible pipe joint is different from widespread coil corrosion. Ask for the exact leak location, repair method, part availability, warranty and post-repair test.
- Compare age and efficiency.
- Check whether the coil or component is supported.
- Review repeated leak history.
- Include refrigerant recovery, testing and recharge in the scope.
From symptom to proven leak repair
- 1
Record the complaint
Note when cooling changed, previous charges, ice, water, sound and operating conditions.
- 2
Rule out basic causes
Check airflow, filters, coils, fans, room load and controls before opening the circuit.
- 3
Locate the leak
Use compatible electronic, visual and pressure-based methods as the system requires.
- 4
Repair and prove integrity
Correct the fault, then complete the approved standing leak test.
- 5
Evacuate, charge and verify
Remove air and moisture, restore the specified charge and document final performance.
What to ask for on the leak-test report
Request the leak location, test method, component condition and whether the system was recovered or isolated. Photos help facility teams track repeat points.
The quotation should separate diagnosis, repair, component replacement, pressure testing, evacuation, refrigerant quantity and final verification.
For commercial systems, update the asset log with refrigerant type, charge added or recovered, affected circuit, root cause and next inspection action.
Ask what is included, what is excluded, which findings support additional work and how the final result will be tested.
Common mistakes to avoid
- Adding refrigerant before locating the leak.
- Treating weak cooling as automatic proof of low charge.
- Using oxygen or unsuitable compressed air for pressure testing.
- Skipping evacuation after opening the circuit.
- Approving a coil replacement without a demonstrated leak location.
- Approving work without asking how the final result will be tested and recorded.
How local conditions change the decision
Equipment model, building use and measured condition remain the primary inputs. Local heat, humidity, salt, dust, access and operating hours then shape the installation and maintenance plan.
Pondicherry
Coastal humidity, salt exposure, dense development and long cooling hours make drainage, outdoor airflow, corrosion condition and service access important planning inputs.
Villupuram
Strong daytime heat and seasonal dust increase the value of correct capacity, clean heat exchangers, protected pipework and practical preventive maintenance.
Cuddalore
Salt-laden air, monsoon moisture and commercial coastal exposure call for corrosion-aware equipment selection, sound mounting and documented inspections.
Chidambaram
Warm humid weather and mixed residential, institutional and business use require realistic occupancy, moisture, drainage and operating-hour assumptions.
Frequently asked questions
How do I know if my AC has a refrigerant leak?
Repeated loss of cooling after recharge, oil at a joint, damaged tubing and measured circuit symptoms are useful clues. A technician should still locate and demonstrate the leak.
Can low airflow look like low refrigerant?
Yes. Dirty filters, blower or evaporator restrictions can cause weak cooling and ice. Airflow should be inspected before refrigerant is added.
Does refrigerant run out naturally?
No. The refrigerant circulates in a sealed system. Loss indicates leakage or incomplete earlier service.
Should an AC be pressure-tested after installation?
New or opened field piping should be checked for leak integrity using the manufacturer-approved procedure before evacuation and commissioning.
Can a refrigerant leak be repaired permanently?
Many joint or pipe leaks can be repaired, but repairability depends on location, corrosion, component availability and system condition. Final leak testing is essential.
Is refrigerant leak testing a DIY task?
No. It can involve recovery, pressure, flammable refrigerants and specialised instruments. Use trained personnel and the exact equipment procedure.
Talk to Turbo Cooling Solutions
Share the equipment model, site location, operating pattern and exact concern. Turbo Cooling Solutions can inspect the installation or system condition and explain the evidence before recommending work.